|
Go back to EPS Epoxy Surfboard Ding Repair Page 4 "Filling the Ding" cont.
Epoxy Surfboard Ding Repair Step 4 "Shaping EPS Foam"
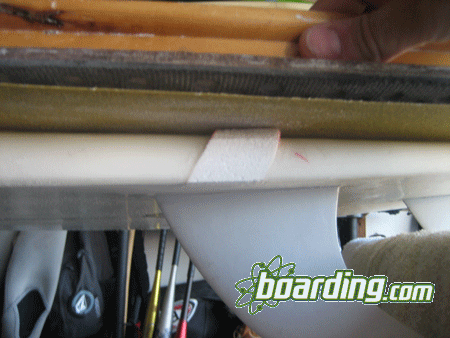
Step 4: "Shaping EPS Foam". Use a block sander and 100 grit sandpaper to shape the EPS foam plug to the contours of the board. It sands really easy so don't go too fast or apply to much pressure or it will cause the foam to tear apart. I started with the rail and sanded it down flush.
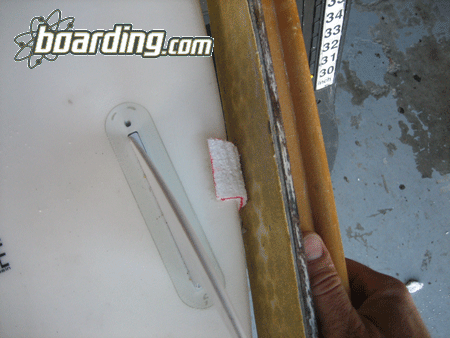
EPS Epoxy Surfboard Ding Repair - Shaping the rail
EPS Epoxy Surfboard Ding Repair - Shaping the rail - Complete
Next, I sanded the bottom until it was flush.
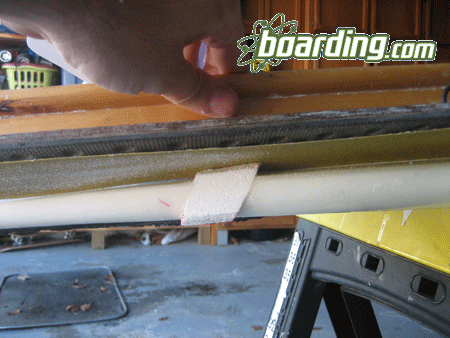
EPS Epoxy Surfboard Ding Repair - Shaping the bottom
EPS Epoxy Surfboard Ding Repair - Shaping the bottom - Complete
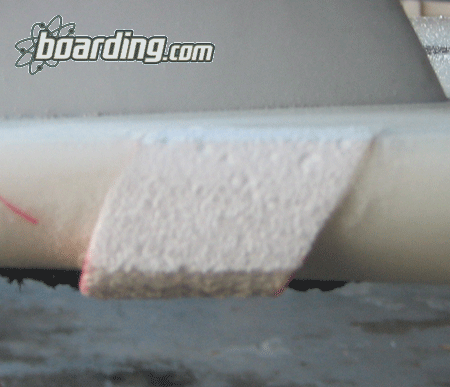
Finally, I sanded the deck and upper part of the rail until it was flush.
EPS Epoxy Surfboard Ding Repair - Shaping the deck
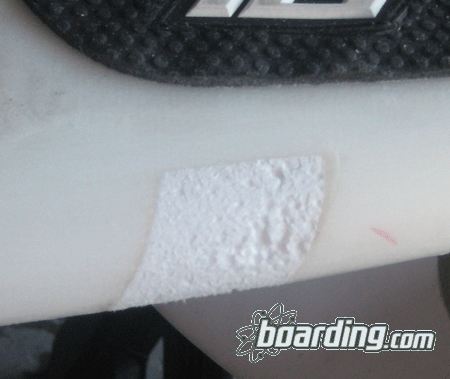
EPS Epoxy Surfboard Ding Repair - Shaping the deck - Complete
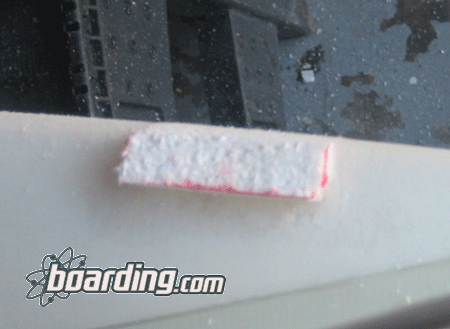
The last picture shows the foam piece sanded flush on all surfaces. Note the porosity of the EPS foam.
Go to EPS Epoxy Surfboard Ding Repair Page 6 "Filling EPS Foam"
|